
A new walk-in shower isn’t just a financial investment. You’re also investing your time and opening up your home to an installation team, sometimes for a lot longer than you’d expect. What actually goes on during a walk-in shower install and how can you go into it with the peace of mind that your remodel will stay on track?
At ZINTEX Remodeling, we pride ourselves on delivering exceptional shower transformations through our meticulous 16-step installation process, 90% of the time in 1-2 days.
Our systematic approach ensures quality, reliability, and stunning results every time. Let's walk through each step of our professional process that sets us apart from other remodeling companies.
Table of Contents
- Preparation for Your Shower Remodel: Steps 1-2
- Day One: Starting Your Bathroom Remodel with Demo, Plumbing Work, and Core Installation
- Day Two: Waterproofing Your Shower and Completing Your New Shower Installation

The Early Stages: Preparing for Your Shower Remodel
At this point in the remodeling process, you’ve completed your free consultation and decided to move forward with ZINTEX. If you used our Fast Track Program to design your shower (which about one-third of our customers do), you can expect a lead time of less than three weeks. Otherwise, you’re looking at a more standard lead time of six to eight weeks. Here’s what’s actually happening during that lead time.
Step 1: Assigning a Designated Team
First, we’ll build your shower remodeling team with a combination of customer care experts, project managers, and expert local installers. Your dedicated team will remain consistent throughout the installation process. This unique approach eliminates most of the communication problems we tend to see from contracting groups. It also keeps your entire project streamlined from start to finish.
Given that over 70% of our reviewers mention at least one member of their remodeling team by name in their 5-star reviews, we feel confident that we’ll only send the best of the best to work on your project.
Step 2: Inspecting Materials Before Install
Quality control is key in a successful shower remodel. Before any work begins, we thoroughly inspect your:
- Acrylic shower wall panels
- Accessories and add-ons (such as grab bars and grab shelves)
- Fixtures and hardware
- Plumbing and structural components
All materials must meet our rigorous standards and your specifications. That means they must match the design you finalized with your design consultant, but also show zero signs of damage, like warping, cracks, or discoloration.
This crucial step doesn't just ensure you receive the best materials. It also helps to prevent delays during the installation.
Day One: Starting Your Bathroom Remodel with Demo, Plumbing Work, and Core Installation
Early in your lead time, your project manager will schedule your installation days to make sure the timing works for your household. For all homeowners, the first phase of installation involves demolishing and removing the materials we’ll be replacing during your renovation. For some, it may also require making as-needed changes to your plumbing system.
Step 3: Demolishing Existing Materials
Your existing shower wall surrounds, fixtures, bathtub (if relevant), and other elements are removed with careful precision. Our team takes special care to minimize dust and debris while protecting other areas of your home during this phase.
Step 4: Converting the Drain
With an updated shower often comes the need for repaired and updated plumbing. During this step, we reconfigure and optimize your drainage system as needed. The purpose is to accommodate a new layout (if relevant) and meet the demands of an updated system, ensuring everything flows perfectly for years to come.
Step 5: Installing a New Valve Body
A valve body is the first component to go in during the core installation stage. Valve bodies are the fixtures that provide temperature and pressure control. They sit just behind your shower wall, attaching to the control handle that you use to turn on your shower and adjust the temperature.
Step 6: Installing Wood Reinforcement As Needed
Behind your shower walls, wood support beams play an important role in the overall structural integrity of your shower. Over time, the existing structure may start to wear down or, if exposed to moisture, warp and rot. We strategically replace or add wood reinforcements where necessary to support:
- Heavy fixtures
- Grab bars
- Aesthetic or functional elements that require additional stability

Step 7: Installing & Leveling Your Shower Base
A properly level shower base is essential for drainage. Our installers correct any existing issues to prevent problems like pooling or leaking before installing your new shower base. If you’re making any layout changes or installing an accessible shower base with a ramp or low threshold, this step may also require expanding your shower footprint.
Day Two: Waterproofing Your Shower and Completing Your New Shower Installation
With ZINTEX shower systems and our unique installation process, you’re guaranteed a truly waterproof shower. These final steps also ensure that you’ll have a functional bathroom as soon as your shower installation is complete.
Step 8: Installing Moisture Treated Backer Board
Water damage prevention begins with proper backing materials. We install specialized moisture-resistant backer boards throughout any wet areas (walls that are part of your shower) in your remodel. This creates a reliable foundation for your panels while providing superior moisture protection.
Step 9: Verifying Wall Measurements
Precision matters. While your design consultant likely took measurements of your tub or shower area, your installer will verify those measurements down to the quarter inch. Even if your shower fits within the standard dimensions we typically see, there may be minor variations (often due to foundation settling) that we can accommodate to ensure a precise fit.
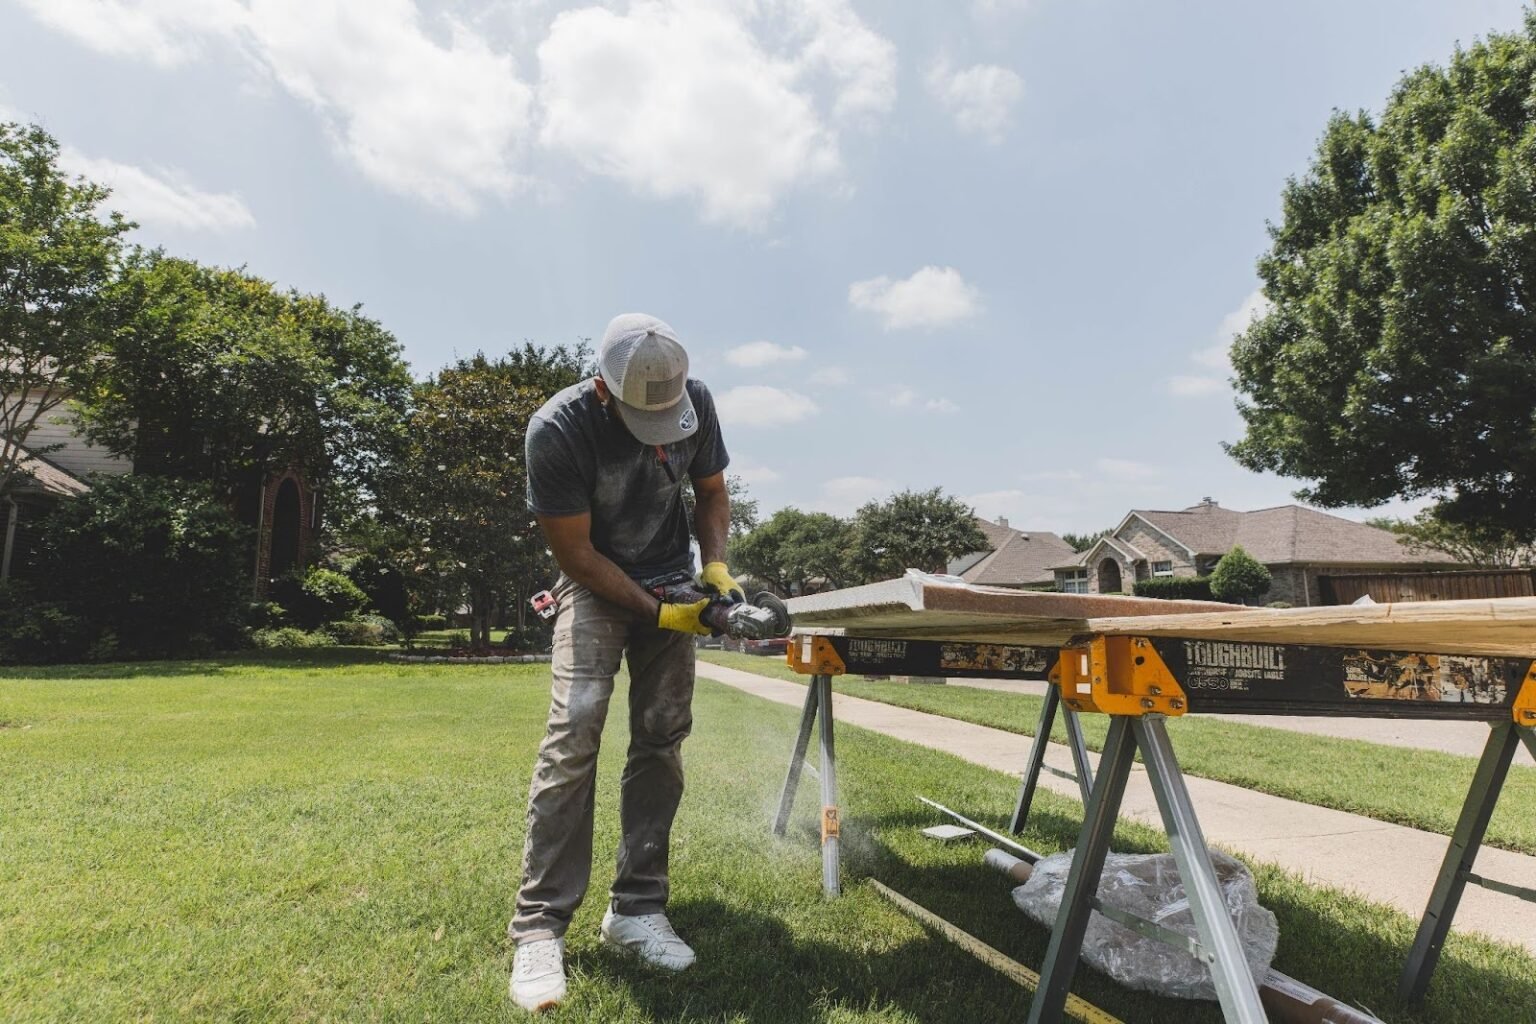
Step 10: Trimming Your Shower Wall Panels
Each wall panel is then custom trimmed to fit your shower's unique dimensions. Trimming your walls on site ensures that we’re able to account not only for your home’s specific measurements, but also any:
- Unique architectural features
- Outlets
- Safety equipment (including any grab bars or seating we will install)
Step 11: Installing Your Acrylic Shower Wall System
With your shower wall panels custom-trimmed, it’s time to install them with care. Our shower wall panel installation method eliminates any air pockets that could lead to water damage, warping, or cracking over time.
Step 12: Ensuring a Seamless Fit
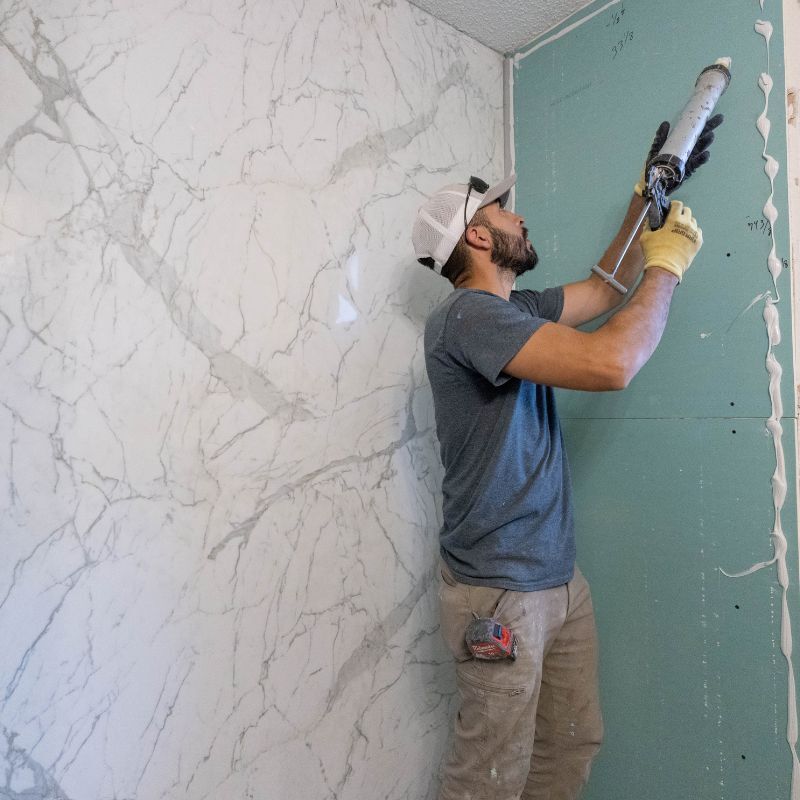
Your bathroom's visual appeal and moisture resistance depends on perfectly fitted wall panels. Unlike tile and grout, an acrylic shower should have no exposed seams, with each panel fitting snug against the other. We triple-check the custom fit on each panel after installing it and as the sealant cures.
Step 13: Sealing the System with Anti-Microbial Sealant
Health and cleanliness are priorities in bathroom design. Our anti-microbial sealant creates watertight seams and inhibits the growth of mold and bacteria. This improves the overall hygiene of your bathroom by promoting good air quality even in the face of high humidity.
Steps 14 & 15: Installing Accessories & Trim
Finally, all accessories are installed according to the design you created with your design consultant, including:
- Shower caddies
- Grab bars
- Foldable seating
Before completing the installation of accessibility features like grab bars, your installer will verify that the height and angle of these features is customized to the specific needs of your household.

Step 16: Completing Your System and Cleaning the Work Area
Cleaning up the construction area is the final step of your shower installation. This includes removing any installation residue and polishing all surfaces to perfection. A comprehensive final inspection ensures every detail meets our exacting standards.
16 Steps for Installation Success: The ZINTEX Advantage
We know that a company’s approach to shower remodeling will make or break the entire process. With ZINTEX, you never need to worry about lapsed timelines, poor communication, or abandoned projects. What sets ZINTEX Remodeling apart isn't just our 16-step process. It's the attention to detail, craftsmanship, and customer satisfaction that infuses each step.
Ready to transform your bathroom with our proven 16-step process? Click the button below to schedule your free, no-obligation consultation!

Topics: